

How to Brew Doburoku
What it is, how it works, and why it's best made at home.

What is doburoku?
Doburoku is a sweet, cloudy, ancient alcoholic beverage. Originating in Japan when rice cultivation began around 300 BC, doburoku was the nation's earliest answer to celebratory and ritualistic drinking.
Doburoku, for all intents and purposes, is the original form of saké. Before the clear, refined, and government-regulated sake of modern day was born, it was something more simple.
Here's a brief glance at doburoku's deep history:

300 BC: Origins
As rice farming began, so did rice-based alcohol production. The Yayoi period in Japan saw the beginnings of doburoku home brewing across the island nation.
source

1252: Growth
A survey in the medieval city of Kamakura found 37,274 sake pots in private residences (more than 1 for every 2 citizens!), reflecting the nation-wide spread of homebrewing.
source

1600: Standardization
By the time of the early Edo Period, advancing technology and government regulation led to the standardization of sake, crowding out portions of the homebrewing trade.
source

1899: Gov't Ban
By the middle of the Meiji period, commercialized sake was a large portion of the Japanese government's tax revenue. To protect this revenue stream, doburoku and homebrewing was banned nationwide.
source

2003: Return
Despite the 1899 ban, hefty fines, and sometimes jail time, doburoku homebrewing flourished. By 2003, the Japanese government loosened its control, allowing specific religious institutions to brew the sacred beverage.
source

Doburoku vs. Sake
Doburoku differs most significantly from modern sake in a couple main ways: 1) yeast, 2) fermentation time, and 3) filtration.
- Modern sake production uses pure, isolated yeast strains, but doburoku can be brewed from wild yeast, or yeast that is not specifically for sake.
- Doburoku brewing is a relatively shorter process in contrast with sake's colder, longer fermentation phase.
- Rice solids (or sake lees) in doburoku are either left whole in the final drink or roughly strained to yield a cloudy, creamy beverage.
Since doburoku is the ancestor of sake, it's not a surprise that it shares the same ingredients.
- cooked rice (short grain is best), rice koji, brewing yeast, and water.
Rice koji is an essential element of doburoku. Its powerful enzymes serve as the drivers of transformation, igniting the fermentation that, with a little patience, will become your fresh doburoku.

The Science Behind Doburoku's Production
-

Stage 1: The Sugar Source
All alcohol, including doburoku starts as sugar. In wine making, this sugar comes from grape juice. But, rice can't exactly be juiced - so we'll need to ferment it. At this point, all the sugar is locked up in complex carbohydrates, known as polysaccharides. Here's where the koji comes into play ➜
-

Stage 2: Saccharification
Your koji provides the chief carbohydrate-converting enzyme, amylase. Amylase acts like a tiny pair of scissors, "snipping" the larger complex carbohydrates into monosaccharides, or simple sugars. This process is called saccharification. Our sugar is ready to go onto the next step! ➜
-

Stage 3: Alcohol Production
To turn our sugar into alcohol, we'll need yeast. There are many kinds, and each has it's own unique impact on flavor and aroma. Yeast eats sugar, and produces alcohol as a lovely waste product. Unique to sake production, sugar and alcohol conversion occur at the same time, yielding a completely unique flavor profile. This simultaneous process is called multiple parallel fermentation.


Why Homemade Doburoku is Better
Tradition You Can Taste

As refined, modern sake has taken the market by storm, making your own doburoku sake is a way of enjoying sake in its most authentic, historic form.
Limitless Possibilities

Playing with different ratios, yeasts, and infusions allows you to explore sake according to your tastes and curiosity.
The Ultimate Pantry Gift

Give a gift to your pantry or to that special someone. Homemade doburoku makes for a wonderful treat to share on any special day, with any special people.


Homestyle Doburoku:
yields 750-1250mL of doburoku (~1.5 wine bottles)
Ingredients:
- 1850g water (this does not include the water you'll use to soak and cook your rice)
- 450g dried short grain rice
- 230g polished sweet rice koji
- 1.5g wine yeast or sake yeast
Active Prep Time: 2-3 hours
Passive Time: 12-20 days
How to Make Doburoku: A Step by Step Guide
-
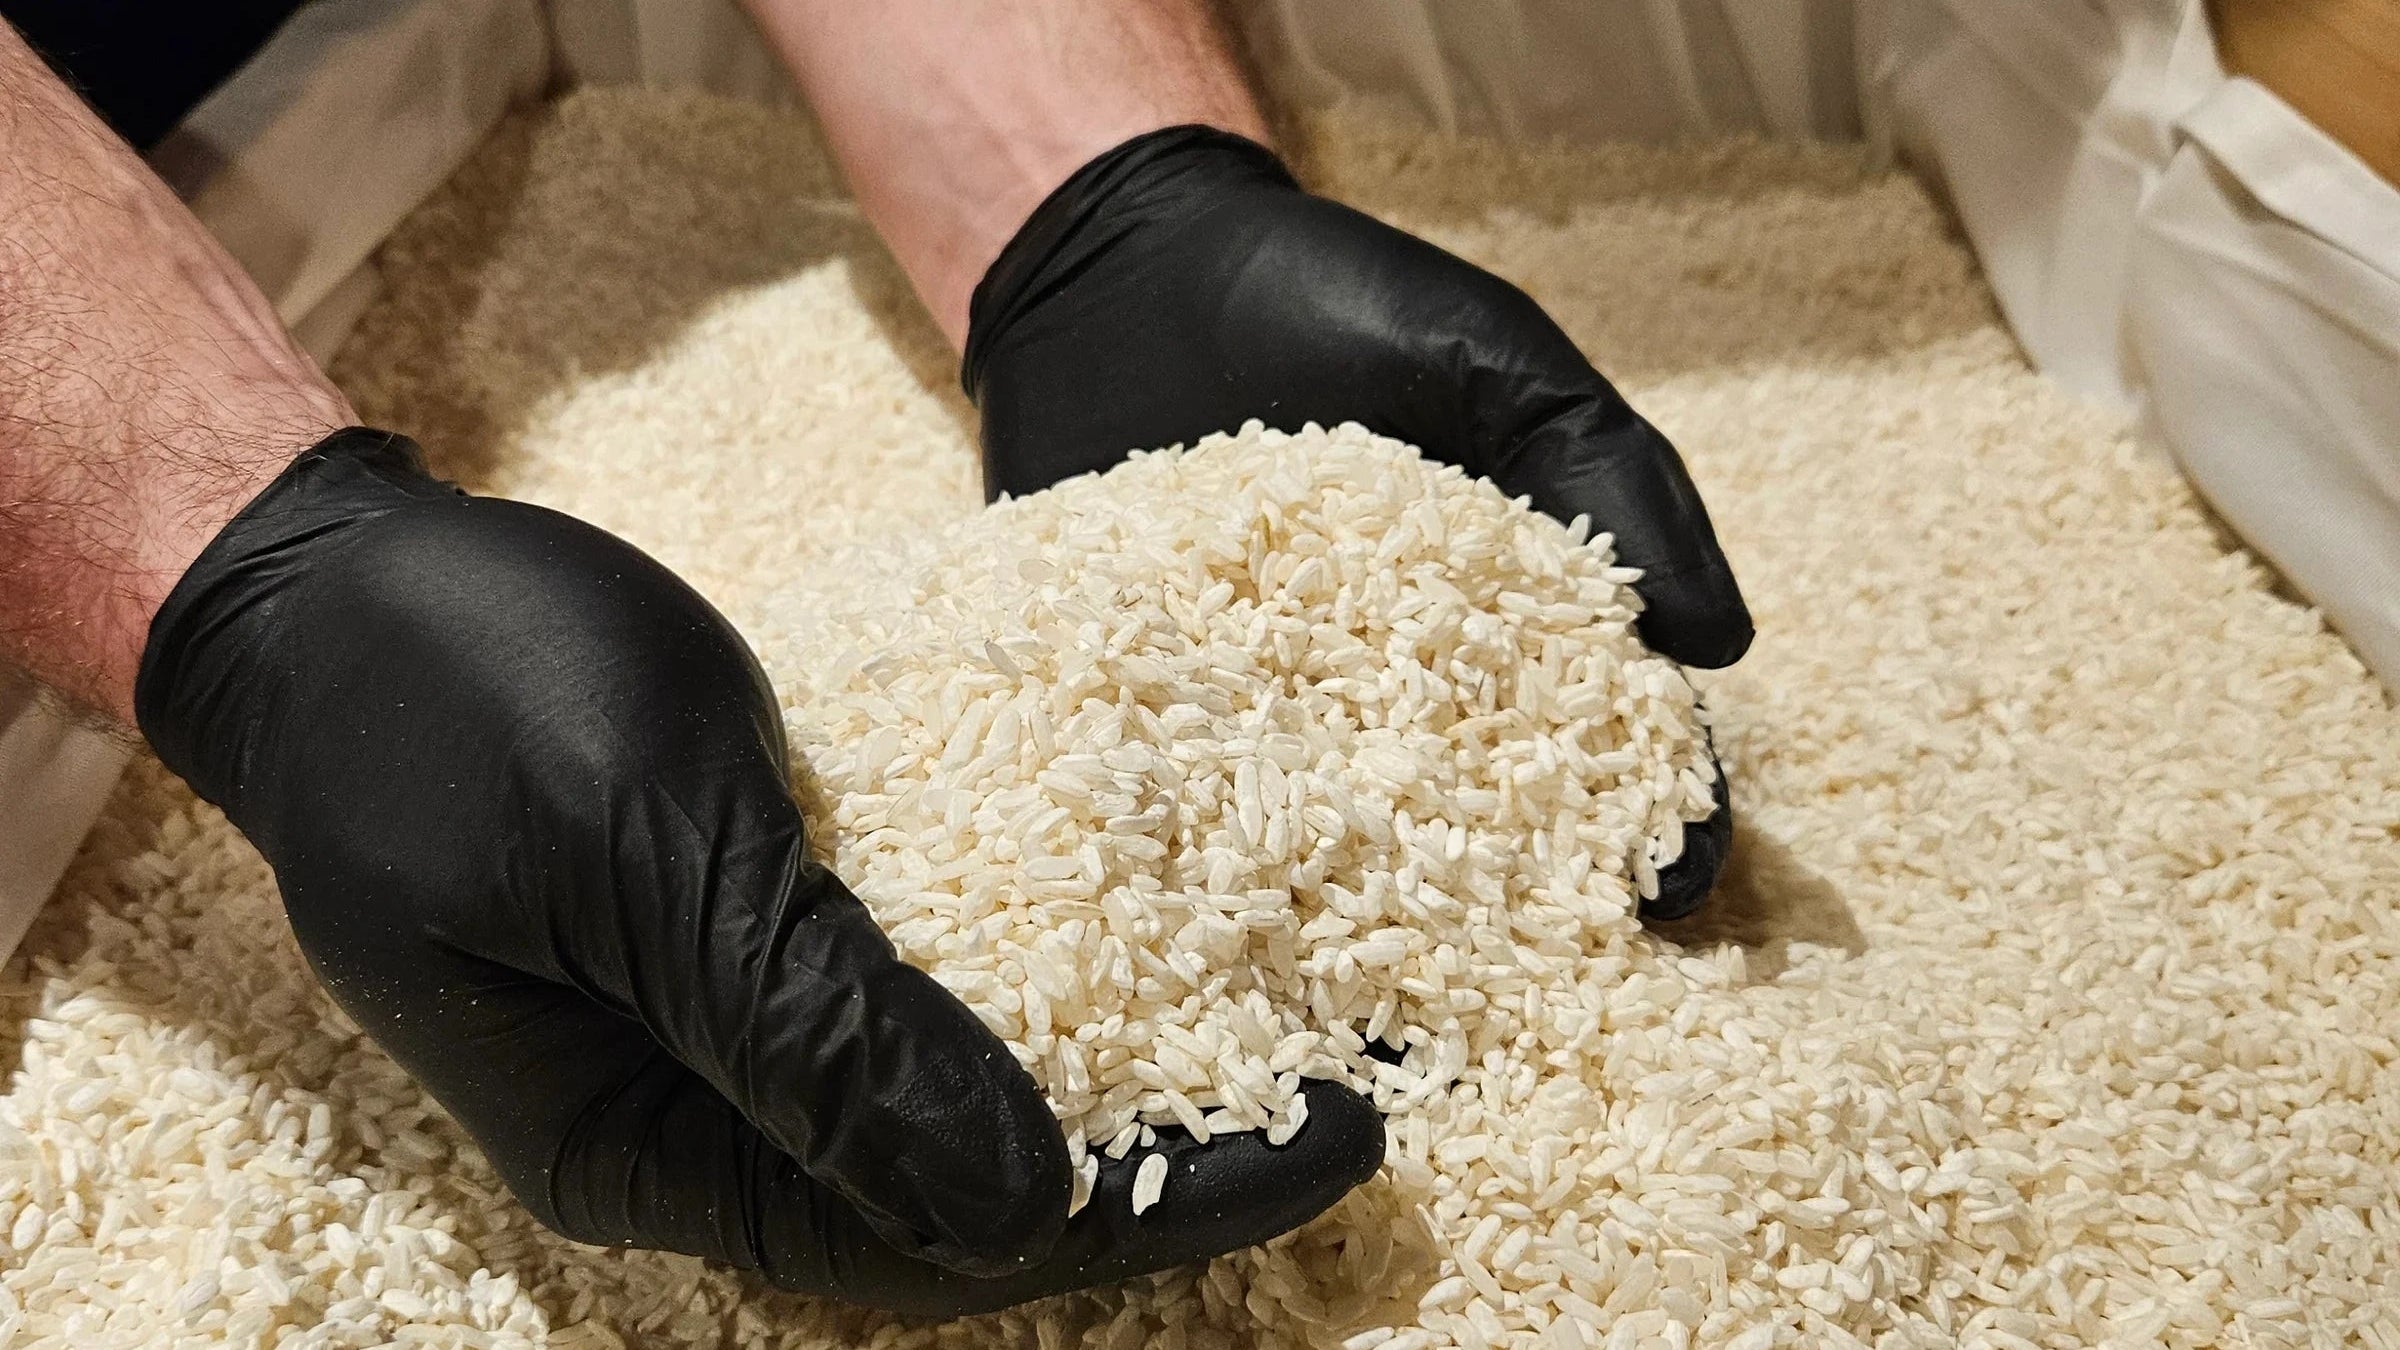
1. Gather Ingredients
GET KOJI HEREAlthough it makes wonderful amazake, mirin, and many other sweeter koji ferments, our sweet rice koji is designed specifically with sake and doburoku production in mind. You'll also need:
- short grain rice - any sushi-grade or table rice will do!
- wine or sake yeast (I've linked the two I enjoy)
-

2. Gather Equipment
I find this equipment to be most helpful:
- rice cooker or steaming basket
- 2-4 liter tight sealing fermentation vessel with airlock (pickle jars are great, I used a lidded bucket from Costco and just drilled a hole for the airlock)
- Large bowl (enough to fit ~2 liters)
- Fine mesh strainer or cheese cloth
-

3. Ingredient Ratios
To scale this as big or small as you'd like, here are some quick ratios:
1 part dry rice: 2.75 parts water: 0.5 parts koji
NOTE: the amount of yeast you use will not vary much. A good rule of thumb is ~1g of yeast for every 1000g of water.
-

4. Day 1: Ingredient Prep
- Wash short grain rice 3 times and cover with water to soak for at least 2 hours to overnight
- Steam your rice - we're aiming for light and fluffy, not overcooked or mushy.
- Add the additional water
and let cool to at least 100F before adding your koji. - Mix ingredients in your fermentation vessel and place somewhere warm (~80-85°F) - I used my oven with the oven light turned on.
-

5. Day 2: Add Yeast
Wait 24 hours after step 4 to do this:
- Warm 50g of water to 105°-115°F
- Add 1g sugar or honey, and 1.5g yeast. (AKA "blooming" your yeast)
- Let sit for 15 minutes before stirring into your rice, koji and water mixture.
-

6. Day 2: Mix and Ferment
Mix this initial ferment daily for the first 7 days with a clean metal spoon. This step is where a bulk of the saccharification occurs (see brewing science section above for a refresher.)
- On the 3rd day of this process, you may add any flavor additions as described in the next step.
-

7. Day 3: Additions
Any flavors you'd like to add (fruit, sweet potato, rose petals) can be added on the 3rd day of fermentation as a 0.25 ratio of the original dry rice weight.
- Ex: if you used 450g of dried rice, use 112g of rose petals.
NOTE: to avoid introducing off flavors from wild yeasts, I recommend briefly toasting or steaming if your addition is a raw ingredient (e.g. not cooked rice or potato)
-

8. Day 14-20: Fermentation Complete
This homestyle sake is typically done in 14-20 days, ideally at 55-65°F. Around day 14, the bubbles in your ferment will have stopped, signaling its completion.
-

9. Strain and Store
Use a fine strainer and/or cheese cloth to separate the solids "sake lees" from your doburuku sake. Store in your refrigerator for up to 3 months.
NOTE: before tasting, allow your doburoku to cool in the fridge overnight. It will clarify and eliminate the volatile compounds that cause harsher flavors.


WRITE THIS DOWN
Fermenter's Notes and Key Reminders
1. Refrigerate or pasteurize when done. You will notice the sake will develop a clarified top portion. This part is extra delicious but also contains slightly more
alcohol.
2. You'll have to find your traditional sake yeast on a specialty brewery site, but is the only way to get the traditional ginjo flavor. However, I have achieved much success with various wine yeasts and even red star baking yeast.
3. Don't toss the sake lees (the solid bits you strain out at the end)! Use it for marinades, pickling, and even baking.
JOIN US
Show off your work!
Did you try this recipe? We want to see it. Celebrate your achievement, ask for advice, and meet other fermenters by joining the Koji Connect Discord!