

A Guide to Miso
What it is, how it works, and why it's best made at home.
What is miso?
Miso is a rich, savory paste made by fermenting soy beans, salt, and koji—a technique that originated in ancient China with a similar paste called Hishio, prized for its nutritional and preservation properties. This method traveled to Japan around the 7th century, where it evolved into the popular paste we know today.
For over a thousand years, miso has been the secret seasoning behind soulful soups, morish marinades, delicious dressings, and more. Packed with probiotics and natural goodness, it transforms everyday dishes into truly unforgettable bites.

What is miso made of?
Miso is traditionally made using just 3 ingredients: rice koji, soy beans, and salt.
Koji, regardless of what its grown on (rice, barley, pretzels, etc), is an essential element of miso. The powerful enzymes koji produces serve as sparks of life, igniting the fermentation process that gives miso it's flavor and health benefits.
Soy beans provide protein and, when mixed with koji's enzymes, that protein is broken down into amino acids - creating the deep, savory umami flavor that makes miso so special. While soy beans are most traditional, it must be noted that miso-like products can be made using any kind of bean! Get creative.
Salt plays a crucial role in the fermentation of miso - continue reading for more details.


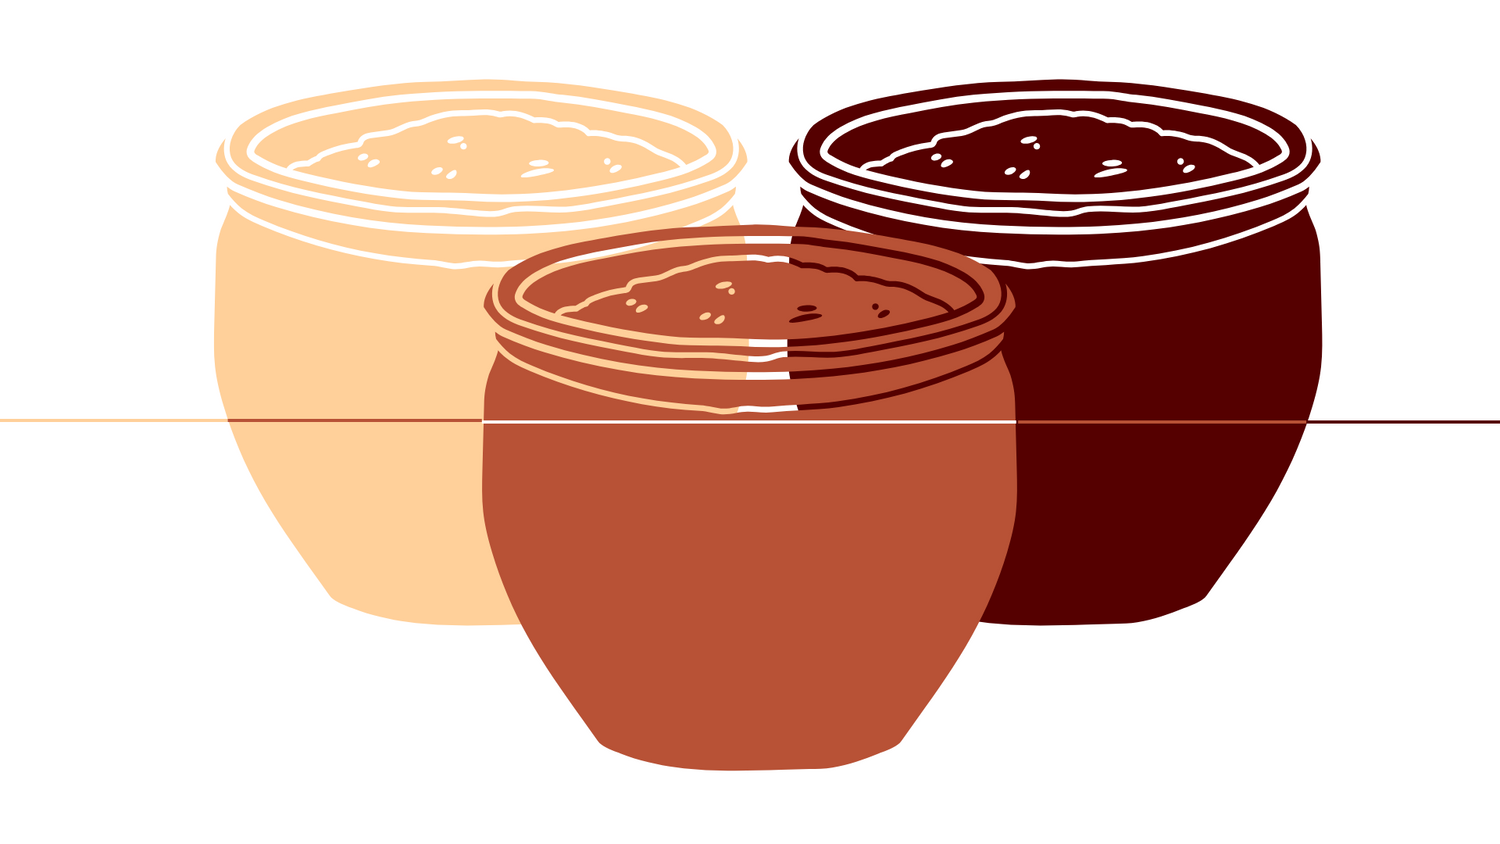
Types of Miso
There are many kinds of miso, each a product of regional tradition and local ingredient availability. Four well known varieties are:
Shiro miso: "white" in Japanese, popular in Kyoto for its characteristically sweet and salty flavor, aged anywhere from 1 to 8 weeks.
Shinshu miso: "yellow" in Japanese, originally produced in Nagano prefecture, this is the kind used to make miso soup.
Aka miso: "red" in Japanese, is from Miyagi prefecture. It gets a red hue as it ages for 10-16 months.
Hatcho miso: made famous in Nagoya prefecture, this miso is extremely dark due to its long, 3 year fermentation.

food science
Salt + Speed
Two main processes occur when miso ferments, driving the development of flavor: 1) enzymatic breakdown (EB) from koji and 2) microbial breakdown (MB) from bacteria, like lactobacilli, that inhabit the aging miso.
Salt determines the speed at which MB occurs - higher salt will slow microbial activity, allowing EB to be the dominant driver of flavor enhancement, creating a more umami end product. Lower salt will allow MB to increase, creating a faster, more vigorous change in flavor, typically creating sweet and acidic flavors characteristic of younger misos.
The Food Science Behind Miso's Flavor


Miso Flavor Theory
From a food science perspective, misos differ based on three key characteristics:
- Fermentation duration
- Salt concentration, and
- Protein/carbohydrate ratio
A miso's flavor, strength and color can vary widely depending on these attributes.
For example, misos that are aged longer typically have lower amounts of carbohydrates (from the koji) and higher amounts of salt, yielding a deeply umami end product. See chart for more examples.
Why Homemade Miso is Best
Superior Flavor

Store bought miso is industrialized miso - lacking complexity and key nutrients. Making your own unlocks richer flavor and bigger health benefits. Packed with probiotics and tailored to your taste, a good ol' homemade miso lets you create something truly your own—sweet, bold, funky, or anything in between.
Infinite Possibilities

While tradition drives the processes behind miso making, ingredients can be swapped to better match your regional offerings. Don't have soy beans? Try black beans or chickpeas! Traditional methods are kept alive through creativity and regionality.
Simplicity + Shareability

Miso is an edible time capsule. It can be enjoyed after just a month of fermenting, but I love to taste how flavor develops over 6 to 12 months. Plus, it's a fun, hands-on way to connect with ancient tradition while leveling up your fermentation game!
How to Make Miso: A Step by Step Guide
-
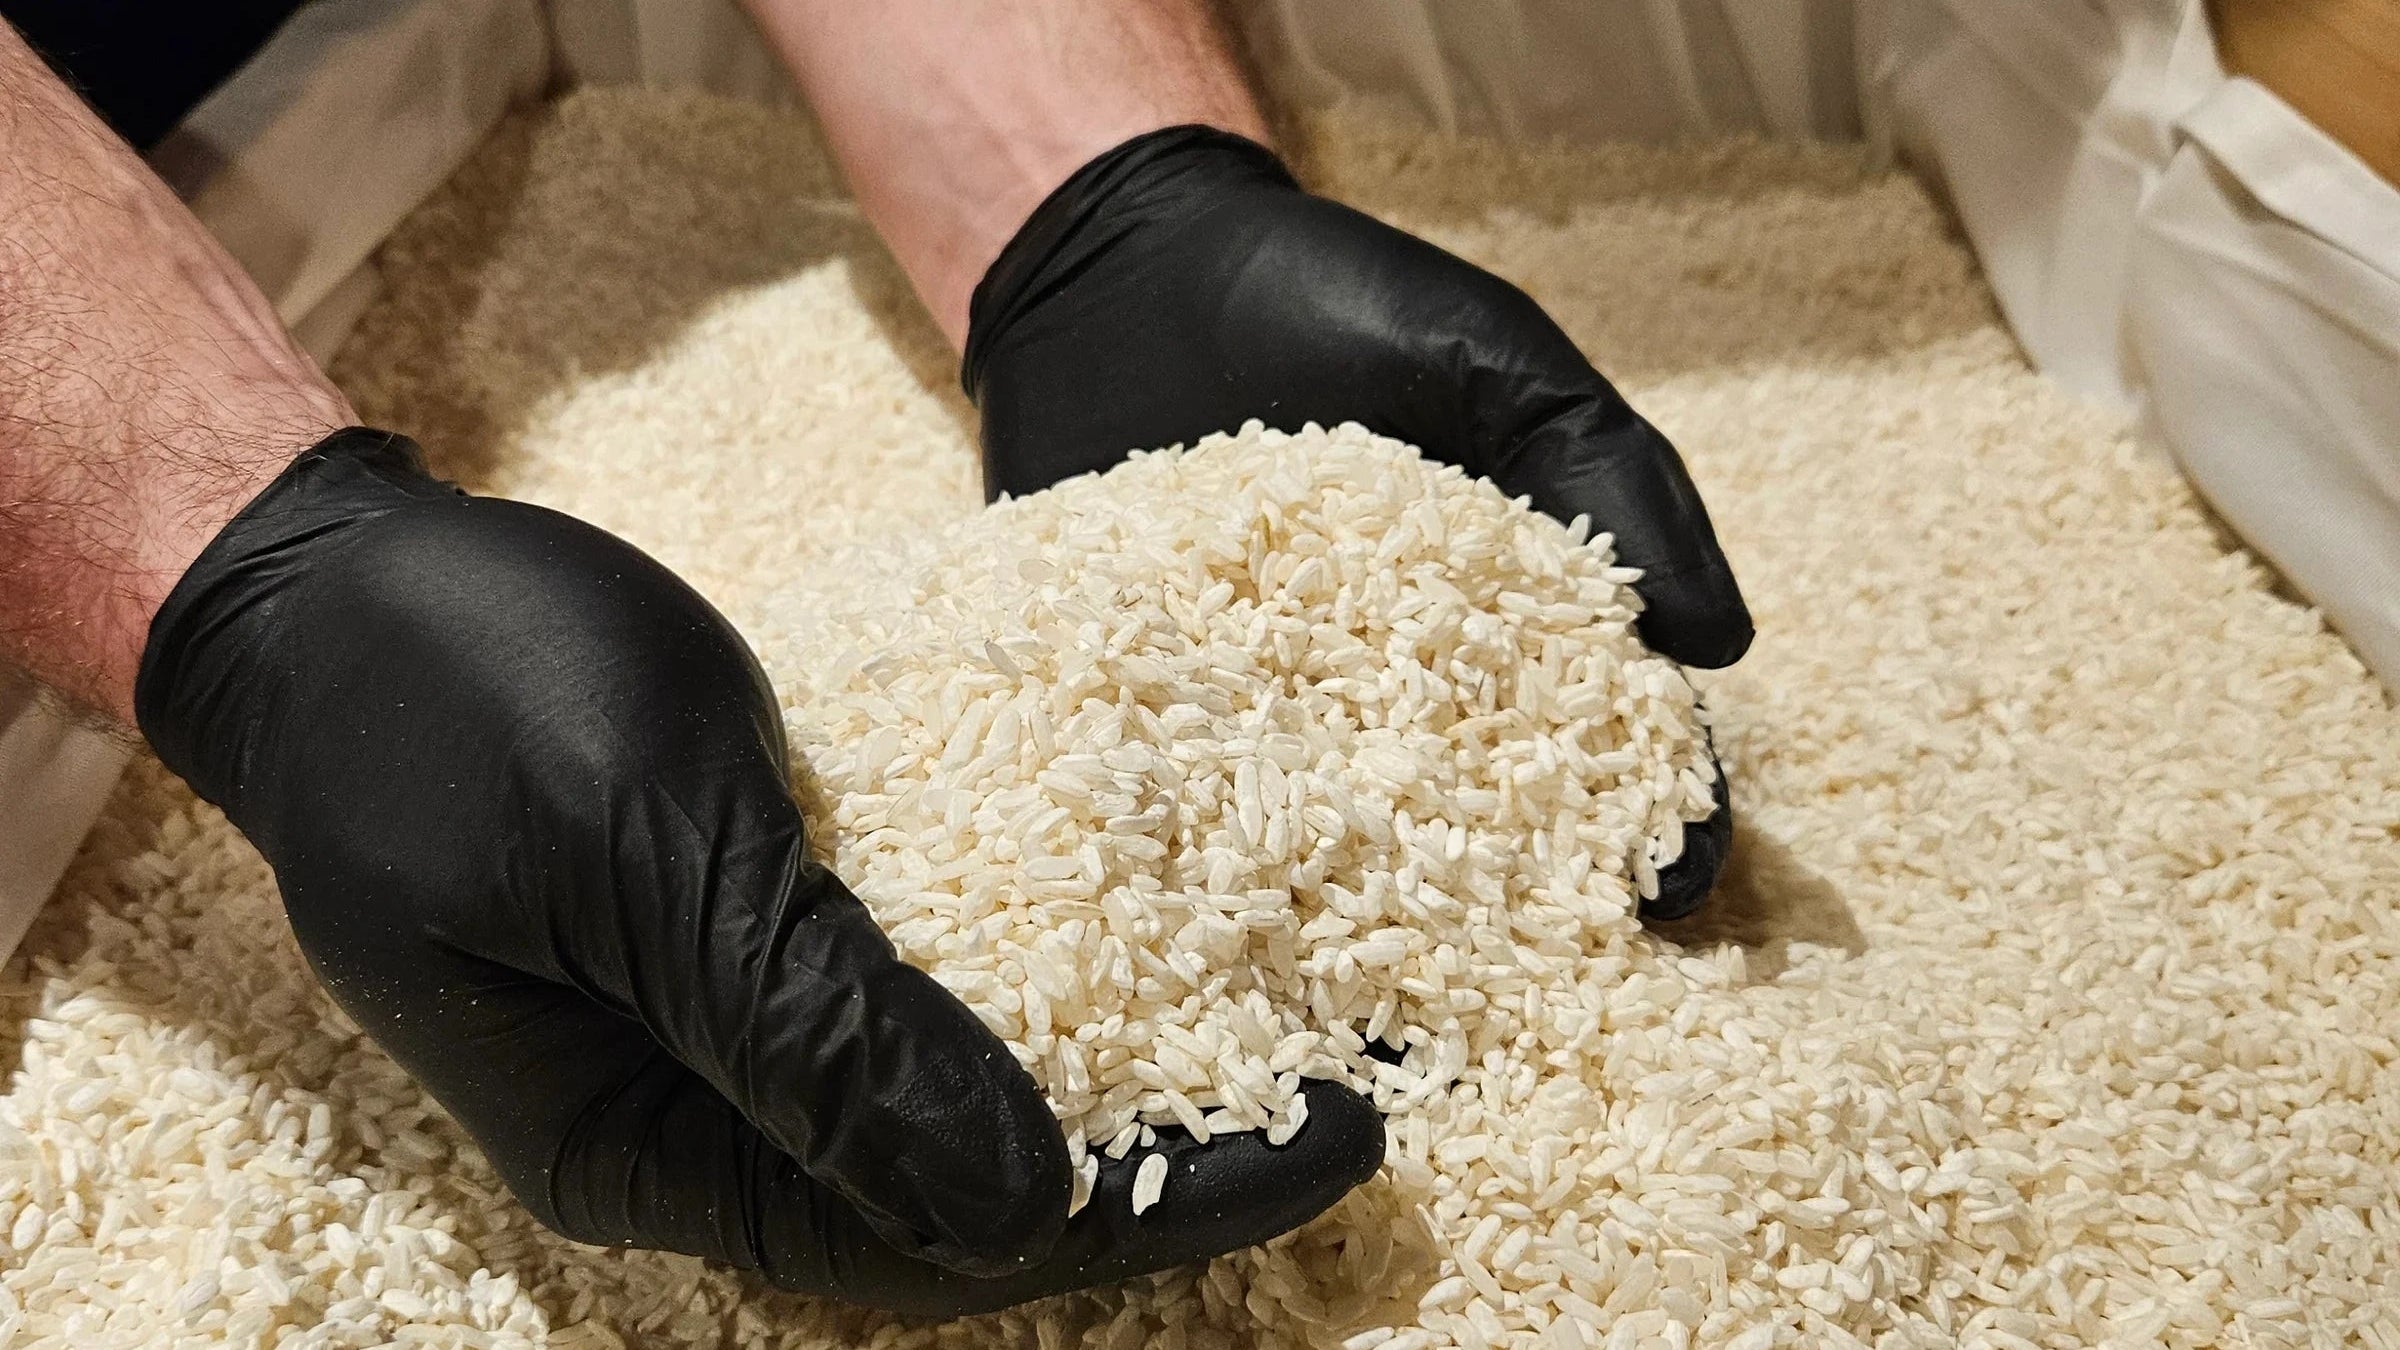
1. Gather Ingredients
GET KOJI HERE- Koji House organic umami koji, designed specifically for miso making.
- Dried soy beans can be found at your local Asian grocer or online.
- Any salt will do, just make sure it is not iodized.
-
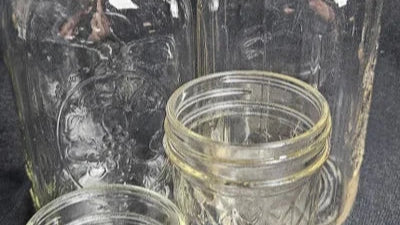
2. Gather Equipment
- A cooking pot
- Mixing bowl
- potato masher, food processor
- sanitized jar
- fermentation weights
Make sure to sanitize whatever container you're fermenting in.
-

3. Measure/Ratios
2 parts cooked soy beans : 1 koji
(the beans will double in weight once soaked and cooked)
Ex: 200g soy : 100g kojiSee more notes below ↓
-

4. Salt
The exact amount of salt you'll need to add to your miso must be calculated after your dried beans are cooked (step 5) To do this, take the weight of the koji and cooked soy beans, and calculate 10% of that total weight. To get 10%, just multiply the total weight of ingredients (koji + beans) by 0.10.
Ex: 1000g ingredients * 0.10 = 100g salt.NOTE: for best practices, save a couple tablespoons of salt for step 7.
-

5. Prep
- Soak dry beans overnight in roughly double the volume of water
- Boil soaked beans in unsalted water until they are tender enough to mash easily between your fingers. Strain and allow to cool.
- In a clean bowl, combine your cooked beans, koji and salt - to calculate the exact amount of salt you'll need, see next step.
- Mash it up! Smooth or chunky, its your call. Smooth miso will ferment faster, though. Mashing can be done manually, with a food processor or ideally, a meat grinder. See step 5 for details on texture.
-

6. Packing the Jar
SEE PACKING PROCESSThe ideal consistency for your miso paste should resemble a damp pottery clay. If you squeeze a handful sized ball of the paste and cracks form around the edge, add more 10% salt water to reach desired consistency - and only add a few tablespoons at a time.
Time to pack your jar: grab a handful of your miso paste at a time and throw it into the jar, making sure no air bubbles are forming inside the paste. Tamp the paste down with your hand as you fill the jar.Once all your miso paste is in the jar, make sure the side walls above the miso are clean and have no bean or koji particles.
-

7. Salt Cap
Take the couple tablespoons of salt you saved from step 5 and evenly sprinkle it across the surface of the smoothed miso. This is called a "salt cap". It will ensure that the surface of the miso that's exposed to oxygen is too salty for any rouge bacteria, molds, or yeasts to take hold and spoil the batch.
-

8. Weigh it down!
This step is critical for a couple reasons:
- weighing ensures that as the ferment matures and naturally expands, small air pockets won't be created inside the miso that can harbor bacteria and create off flavors and an unsafe ferment.
- weighing presses liquids to the surface where they can protect the miso or be skimmed off and enjoyed - this liquid is tamari, by the way! Enjoy!
Options for different kinds of weights include: a bag full of dried beans, a bag of salt, or even a bag full of water (just check for leaks!)
-

9. Time and Temperature
Be patient! This ferment is slow. Usually done in 6-12 months when fermented at
room temperature. If you'd like to expedite the process, your miso can be gently heated to 90°F to cut this time down by as much as a third!And really, it's done whenever you like the flavor - throw it in the fridge to slow or halt the fermentation process at this point - or, let it keep chuggin at room temperature to see how the flavor evolves with time! 100% your decision.


More Miso Recipes
-

-

Mapo Miso
WATCH RECIPE VIDEOOne of my personal favorites. The recipe is tradition with a twist and shows how customizable miso can really be!
-


WRITE THIS DOWN
Notes and Key Reminders
1) Check your miso regularly for: mold growth and dryness. Harmless white molds can be simply scraped off, but if larger blue, green or black molds appear the miso will need to be discarded.
2) As you use and enjoy your finished miso, make sure you maintain the cleanliness of the side walls in your jar. This will prevent mold outbreaks.
3) If a mold outbreak does occur, scrape the mold and add extra salt to the surface of your miso.
JOIN US
Show off your work!
Did you try this recipe? We want to see it. Celebrate your achievement, ask for advice, and meet other fermenters by joining the Koji Connect Discord!